Switching to solar energy is an exciting decision that can lead to lower energy bills, a smaller carbon footprint, and increased energy independence. However, if you’re new to solar, you might be wondering what the installation process entails. This step-by-step guide will walk you through everything you need to know to feel confident about your solar installation journey.
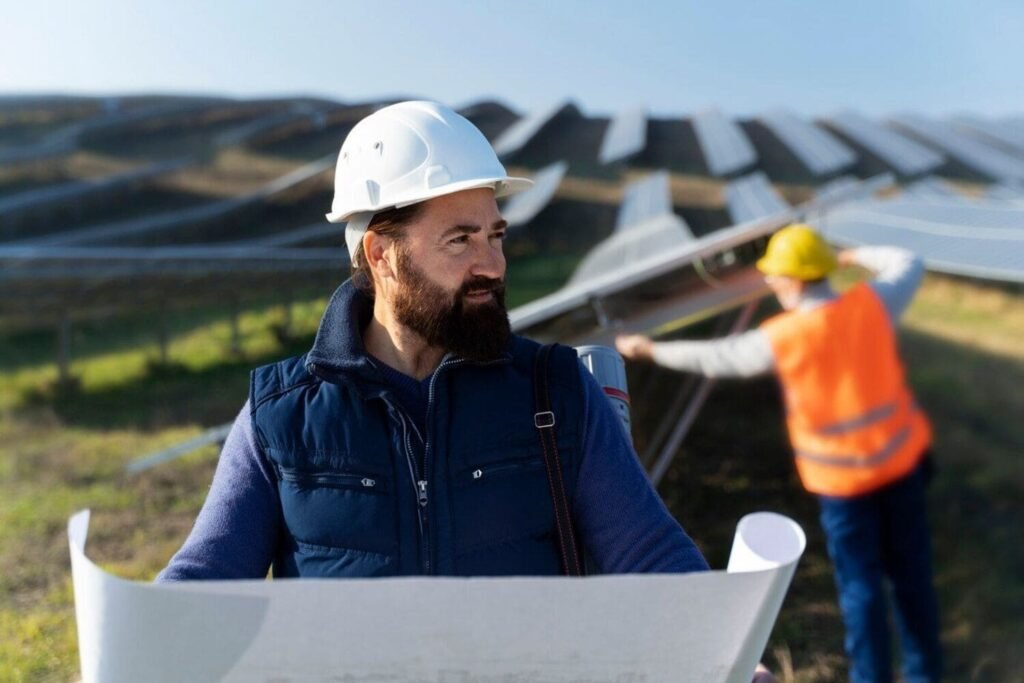
Step 1: Initial Consultation and Site Assessment
The process begins with an initial consultation where your solar provider evaluates your energy needs and inspects your property.
- Energy Usage Analysis: Your energy bills are reviewed to determine the appropriate system size.
- Roof Inspection: The installer checks the condition, orientation, and shading of your roof to ensure it’s suitable for solar panels.
- Proposal Development: You’ll receive a customized proposal outlining system size, design, costs, expected savings, and available incentives.
This stage is crucial for tailoring a solar system that meets your specific needs.
Step 2: Design and Permitting
Once you approve the proposal, the next step involves system design and obtaining necessary permits.
- System Design: Engineers create a blueprint for panel placement, electrical wiring, and inverter setup.
- Permit Applications: Your installer handles permits required by local municipalities and utility companies. This can include zoning approvals, electrical permits, and interconnection agreements.
- Timeline Expectations: Permitting can take anywhere from a few weeks to a couple of months, depending on local regulations.
This stage ensures compliance with building codes and grid connection requirements.
Step 3: Ordering Equipment
After permits are approved, your installer orders the necessary equipment.
- Solar Panels and Inverters: High-efficiency panels and inverters are selected based on your energy needs.
- Mounting Hardware and Wiring: Components are sourced to secure panels and connect them to your electrical system.
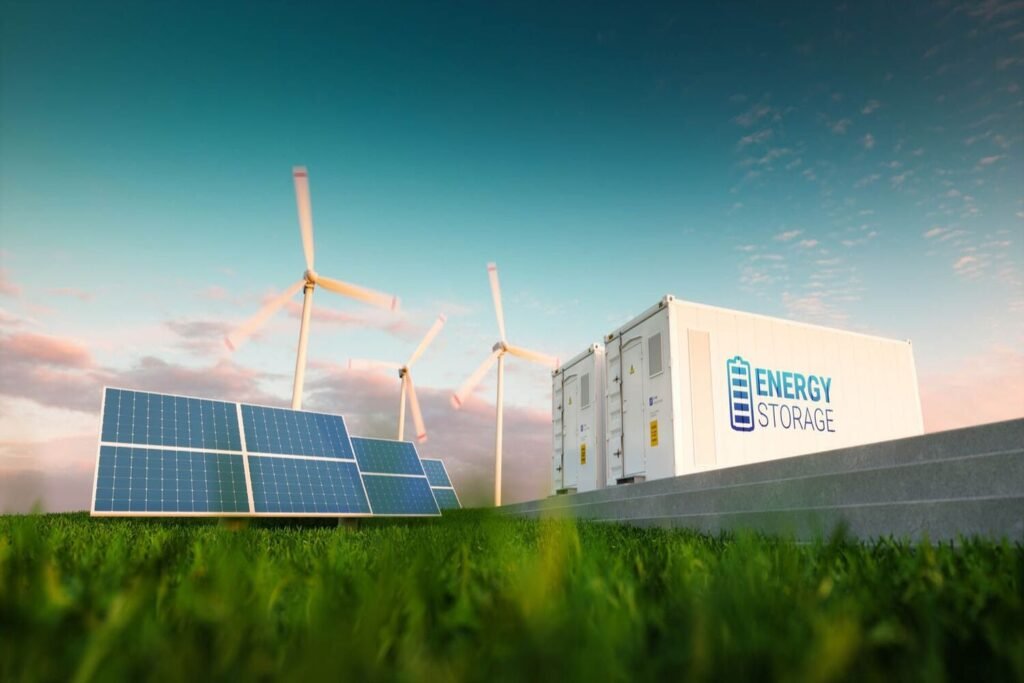
- Battery Storage (Optional): If you opt for energy storage, batteries are included in the order.
Lead times for equipment can vary, but your installer will keep you informed about delivery schedules.
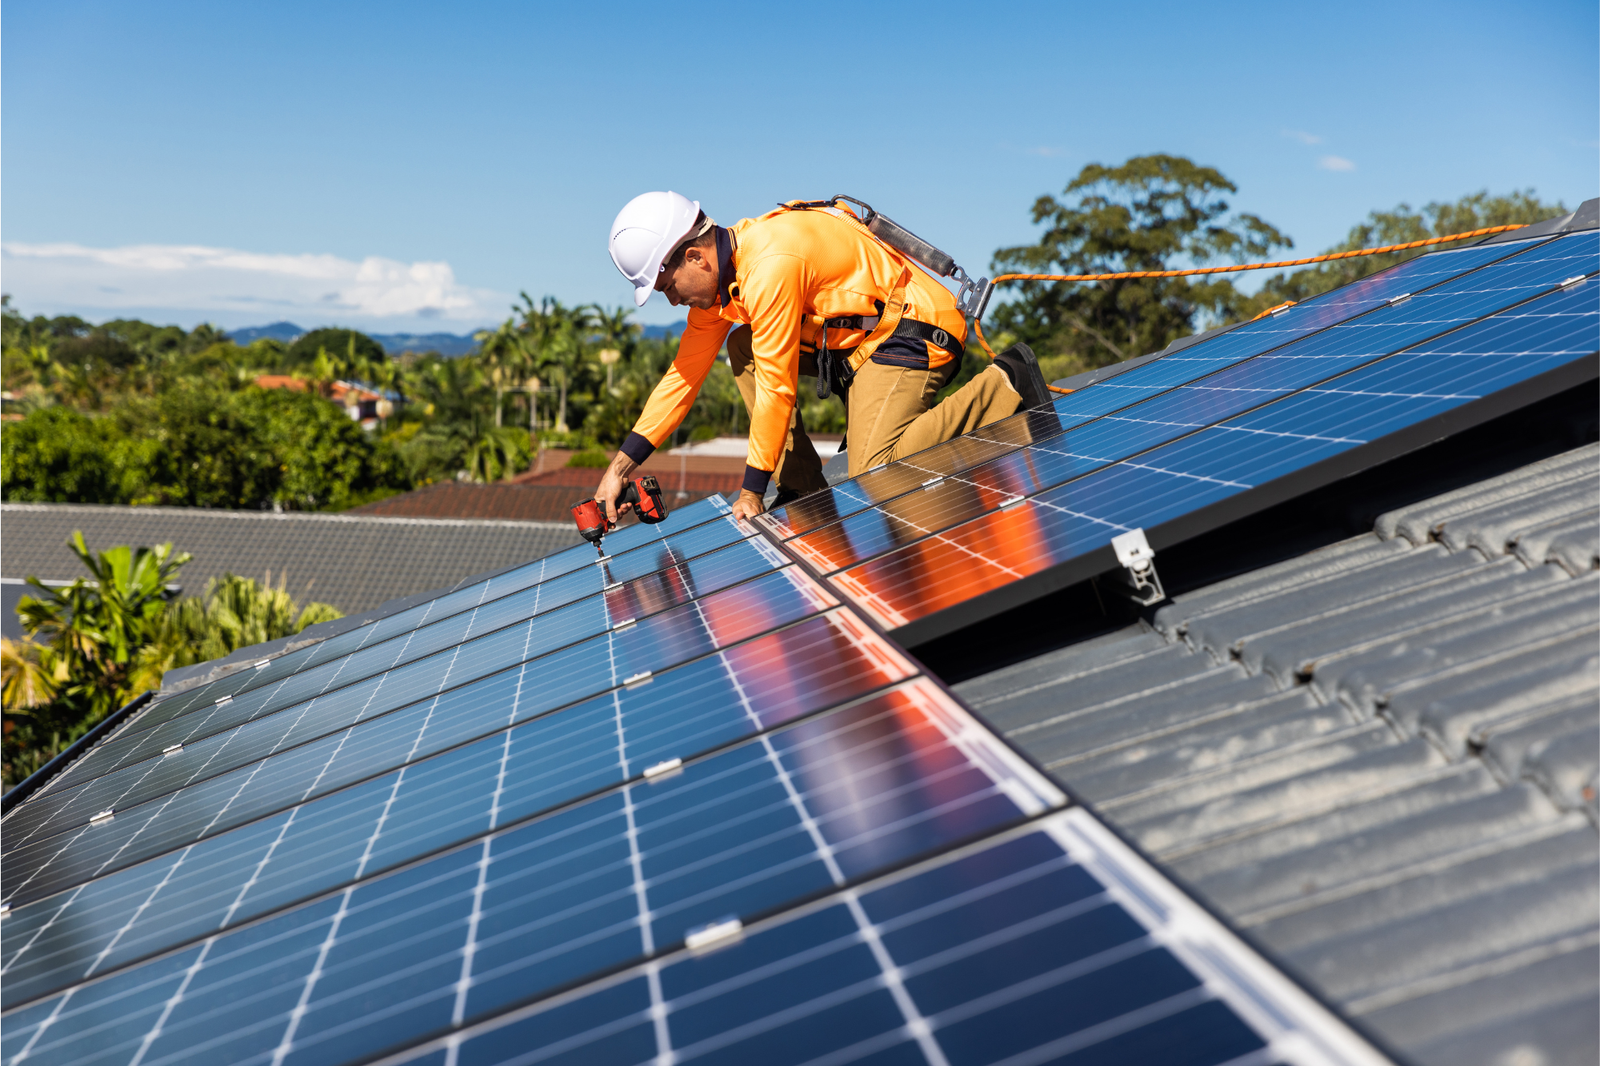
Step 4: Installation Day
The installation itself is typically completed within one to three days, depending on system size.
- Site Preparation: The roof is prepped, and safety measures are put in place.
- Panel Mounting: Racking systems are installed, followed by the placement of solar panels.
- Wiring and Inverters: Electrical wiring is connected, and inverters are installed to convert solar energy into usable electricity.
- Inspection Preparation: Final checks are performed to ensure everything is ready for inspection.
The process is efficient and minimally disruptive to your daily routine.
Step 5: Inspection and Interconnection
Before your system can be activated, it must pass inspections and be connected to the grid.
- City or County Inspection: Local inspectors verify that the installation meets code requirements.
- Utility Approval: Your utility company reviews the system and grants permission to operate (PTO).
- Final Testing: Your installer tests the system to ensure everything functions correctly.
This stage is critical to ensure safety and compliance with regulations.
Step 6: System Activation and Monitoring
Once approved, your solar system is officially turned on, and you can start generating clean energy.
- System Activation: Your installer walks you through turning the system on and monitoring performance.
- Monitoring Tools: Most systems include mobile apps or web portals for tracking energy production and usage.
- Maintenance Tips: Your provider offers guidance on cleaning panels and monitoring efficiency.
With monitoring tools, you can see your energy savings in real-time.
Step 7: Ongoing Support and Maintenance
Solar systems require minimal maintenance, but ongoing support is available if needed.
- Routine Inspections: Periodic checks can ensure the system remains in optimal condition.
- Warranty Coverage: Most systems come with warranties covering panels, inverters, and labor.
- Troubleshooting Assistance: Your installer provides support in case of performance issues or malfunctions.
Many providers also offer maintenance plans for added peace of mind.
Conclusion
Installing solar panels is a straightforward process when you know what to expect. From the initial consultation to system activation, each step is designed to ensure your transition to solar energy is smooth and stress-free. By choosing an experienced solar provider, you can feel confident that your investment will deliver long-term savings and sustainability.
Ready to make the switch? Reach out to a trusted solar installer today and start your journey toward energy independence!